
Last fact-checked: 2026-08-18
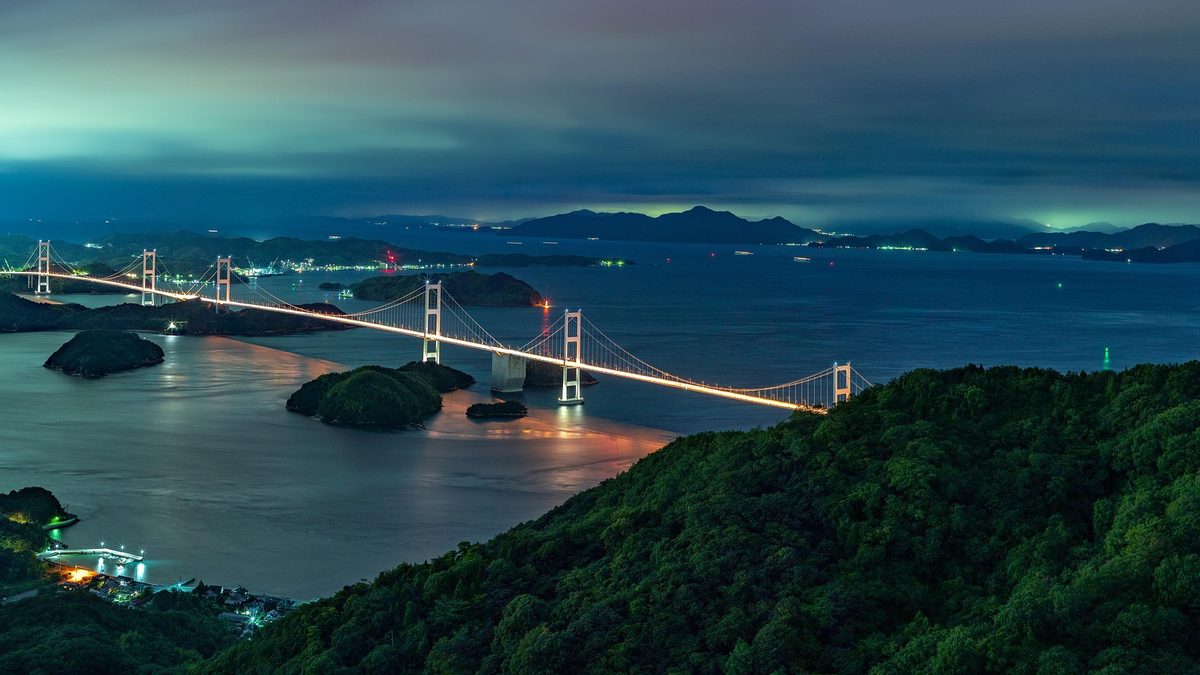
Most cyclists begin in Onomichi, a scenic port town reachable by train from Hiroshima or Okayama. From there, the route crosses six islands (Mukaishima, Innoshima, Ikuchijima, Omishima, Hakatajima, and Oshima) before finishing in Imabari on Shikoku. Riding the other direction, starting in Imabari, works just as well — many riders choose this order specifically to save the more dramatic bridge views for the final stretch.
You do not need to bring your own bike. Two separate rental networks operate along the route:
For a first attempt, the standard Shimanami Cycle system is the easiest and most economical choice. Reserve ahead during peak seasons (spring cherry blossom period and autumn foliage season), as popular models sell out.
The entire cycling course is marked with a continuous blue line painted on the road surface, making navigation almost foolproof even without a map or GPS. Simply follow the blue line through each island, across each bridge, and it will lead you the full distance between Onomichi and Imabari.
Cyclists pay small tolls to cross each of the main bridges, totaling somewhere in the range of ¥500 for the full route under normal pricing. As a tourism promotion measure, these tolls have been waived for cyclists in recent years — but promotional programs like this do have end dates that get extended or changed, so confirm the current toll status before you go rather than assuming it is still free.
One detail that surprises first-timers: there is no cycling bridge directly connecting Honshu to the first island, Mukaishima. Instead, you take a short local ferry from central Onomichi, which takes only a few minutes and costs around ¥110 for an adult with a bicycle.
Cramming the full 70km into a single day is possible for fit, experienced riders, but most visitors enjoy the trip more by splitting it up:
If you are staying in hotels along the way, ask about luggage forwarding services — several hotels in Onomichi and Imabari can send your bags ahead so you only need to carry a light day pack while riding.
Because the climbs are gentle and the route is so clearly marked, Shimanami Kaido genuinely works for casual riders and families, not just serious cyclists — renting an e-bike from the Giant system makes it even more approachable if you are not confident on long rides. If you are coming from elsewhere in Japan, Fukuoka is one of the more convenient regional hubs to connect through before heading to the Onomichi/Imabari area.
Since the blue-line markers cover the route but checking maps, weather, or hotel details still needs data, an Airalo eSIM for Japan set up before you land keeps you connected without hunting for a local SIM.